Sunday, 8 June 2014

Eastenders screenshots (James)

 This shot shows an extremely wide ots shot of a character. It is a mid close up to show the distress on his face. The slightly off horizontal angle shows comes across to the audience as odd and makes the characters distressed facial expression a lot more enhanced and affective.
 It then changes to a mid shot of the opposing character speaking in response. The shot is more horizontal to the characters shoulders and not as low as the last shot showing he is currently not in any emotional state.
 The shot changes to a close up reaction shot of the character in shock. We can see here that the camera is now back to it's lower angled position and making the character's upset more intense.
 The scene then changes to a mid shot of a character speaking to another character however off focus. The camera is on the side she has lost focus on to help highten the knowledge of her facial expressions which gives the audience a greater insight to what she may be thinking.
 The shot then changes to an OTS of the male character responding to the loss of focus. The OTS is also a mid shot to capture the hand gestures and movements, this helps show the audience the frustration in the character.


The shot changes to a long mid shot with a wide ranged angle and a larger depth of field to the last shot in the previous scene.This is to show the characters bumping into each other and shows all the hand gestures and body language more closely than the facial expression which in comparison has the same affect on the viewer and gives them insight to how the characters are feeling and what emotions they are conveying.

Everybody hates chris screen shots (James)

 This shot is a OTS (Over the shoulder) Close up of Chris in conversation. It shows the characters facial expressions and body language above the shoulder.
 This is a shot reverse shot showing who chris is speaking to. (Close up) The eye lines are shot at an equal height even though this character is a lot shorter than Chris.
This is a close up shot of chris' hands and the book he's reading. This type of shot is commonly used to keep the audience interested in the story line and make the story more detailed and affective.
Close up shot of chris' mother fixing her apartment door. It shows her also giving a very detailed facial expression which is why the choice of a close up was made.
this is a wide mid shot ots of the landlord and chris' mother having a conversation. It has a larger depth of field than the next shot to make the mother appear smaller and more feminine/ womanly. The shot is above her head making her appear smaller and on the defensive side of the conversation, the eye line is also off in comparison to the next shot.
Finally a reverse shot of the pastor and chris' mother having a conversation.The shot is at a lower angle and the eye line is completely slanted down. This makes the landlord appear much more powerful and intimidating the mother.

The Cube Screenshots (James and Barrington)


The challenge starts with a long shot through the cube's glass which I believe displays the cube's intimidation factor and belittles the challanger.


It then proceeds to a close up of the challanger gazing at the cube with a nervous look on her face, shot from the side of her fringe it hides her face making her seem more closed off from her the viewer.

 
It changes to a long shot again this time a bit further out and the challenger is proceeding along to a now red and scarier, evil looking cube much bigger than her in size. This makes the audience feel helpless as to what happens now that she is to fend for herself.

It then changes to a bird's eye view, showing her pushed into a corner barely visible as though the cube had engulfed her. This is to show the sheer size of the cube to the viewer, making her challenge more entertaining as it seems harder than already imagined from the last shot to the viewer.

The cube then brightens up as though taken to a new world, still a birds eye view shot a little closer zoomed as the challenger begins the challenge.

 The shot then changes to a mid shot of the presenter shouting words of encouragement to the cube's challenger and reminding her of the remaining time.


 The shot then changes to a mid shot a little further out of the challenger working away in the cube.
 The shot changes to a close up of the challengers hands showing the movement with much more detail than in the other shots.
 The shot changes to a long shot of the challenger halfway through the challenge with only moments to go.
 The challenger fails the shot changes to a mid shot of the audience reactions
Finally the shot changes to a close up of the face of the distressed challenger, capturing all the emotion and pure nervousness of the challenger.

Thursday, 5 June 2014

"Monophobia - The Fear of Being Alone" By Kameron Brown (Sue) (Video Installation)


"Monophobia - The Fear of Being Alone" By Kameron Brown.

photography unit (Sue)


blurred movement:
In this photo my subject is shaking her hand left to right, I obtained this by using a sliightly slower shutter than normal, around a second or two roughly. The subject couldn't move her body, which explains why her whole figure isn't blurred and smudged in movement like her hand is.


how to: 
to obtain blurred movement, simply carry on as though you're taking your everyday shot, only this time have your shutter speed turn down to around half a second to 2 seconds depending on how harsh you want your blurs. even slower shutter speeds for a  long, extreme blur. 


Panning technique:
This photo shows a moving car speeding down the road, I obtained this shot by using a very fast shutter speed and panning with the car to capture it's fast movement. As a result of the panning the background beyond the car is more blurred due to movement blur. 

How to: 
Fast shutter speed around 1/100 or faster depending on how fast the object or focus of your shot is moving.


shallow depth of field:
This is a photo of a static subject, however if you look behind the subject the background appears to be a huge distance away, this is due to the shallow depth of field technique used in this image, in fact the background was a lot nearer than it appears in this photo however with a adjustment to the focus, targeted and fully focused on my subjects face on manual focus the background blurs very harshly, giving you shallow depth of field. 

how to:
Shallow depth of field is attained by focusing distinctly on a subject, make sure there's some room between you and your subject so the camera lens can pick up distance, then focus on your subject and the background will have a soft blur.


Large depth of field:
A large depth of field is when the range in width of what is in focus is a lot wider to the edge of the photo making it larger in depth. I obtained a larger depth of field by capturing more of an open space where the camera won't find a main focus so easily when adjusting the focus. I found my open space and made the focus pretty much even across the whole photo. My shutter speed was around 1/300.


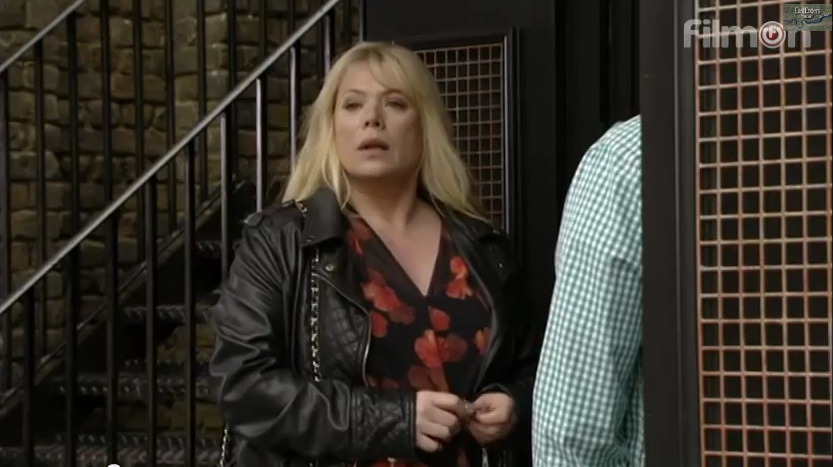
Interesting framing:

I chose these photos for this task because I feel they veer from my usual style of photography, the angles appear odd and strange, however when looked at from a technical point of view, all make sense and are properly executed for the purpose they serve. I like the second from last the most because it has a weird scary element to it, like a horror film, but when I return to technical thinking I see the subject is fully lit and the reasons for it's nerve unsettling affect on me is something I'd say is down to the strange framing and other elements in the mise en scene.


____


Rule of thirds:

The rule -

"The theory is that if you place points of interest in the intersections or along the lines that your photo becomes more balanced and will enable a viewer of the image to interact with it more naturally. Studies have shown that when viewing images that people’s eyes usually go to one of the intersection points most naturally rather than the center of the shot – using the rule of thirds works with this natural way of viewing an image rather than working against it". (http://digital-photography-school.com/rule-of-thirds)
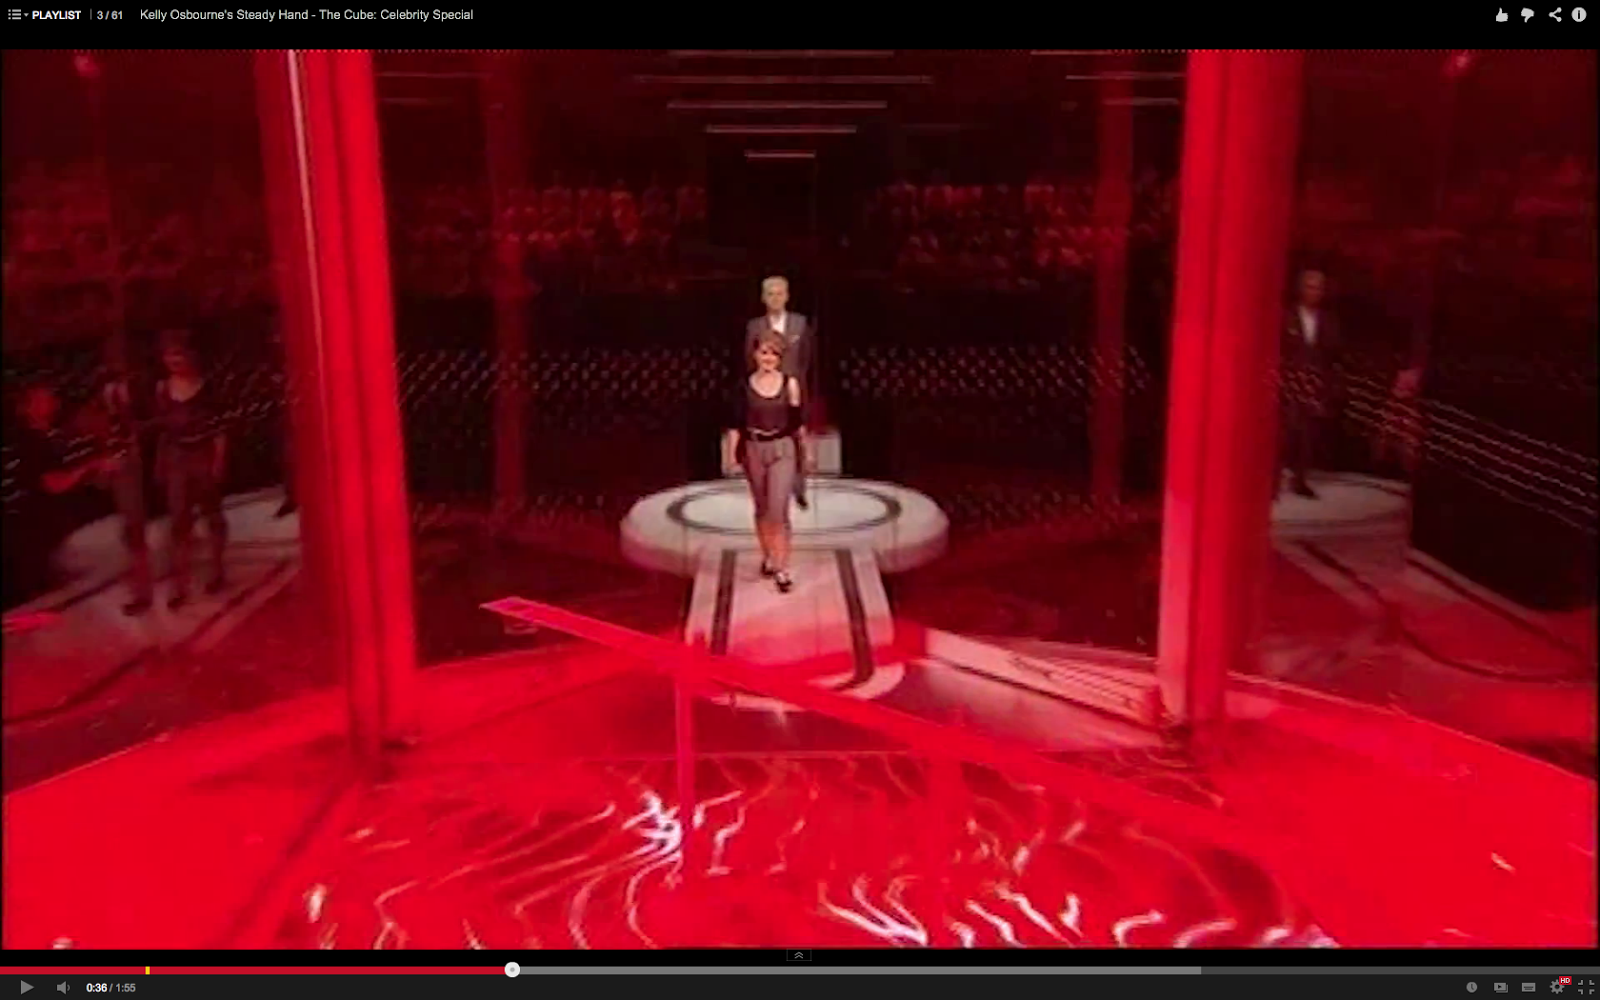


Light Graffiti

The light graffiti camera effect is obtained simply with a VERY slow shutter speed and movement of a bright light's movement (works better when light is direct and detailed, a torch for example)
The shutter speed for this photo was between 10-30 seconds and the light had been moved vigorously to gain that drawn light effect which is essentially the point of light graffiti.


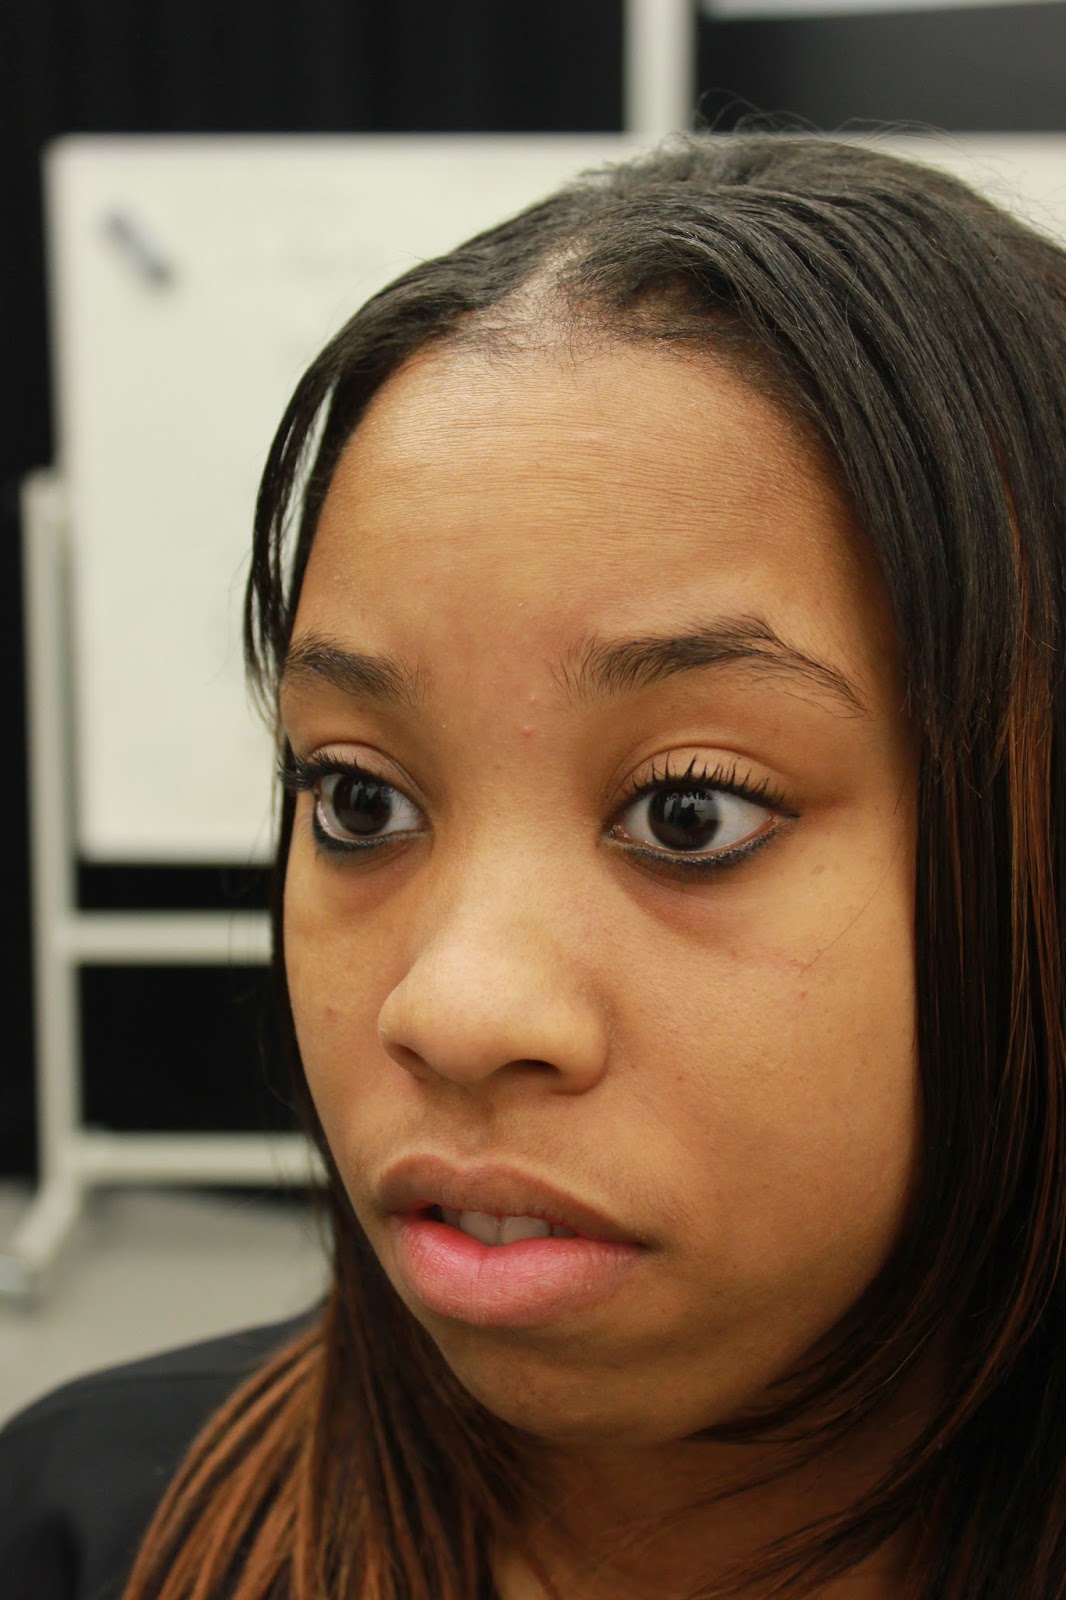
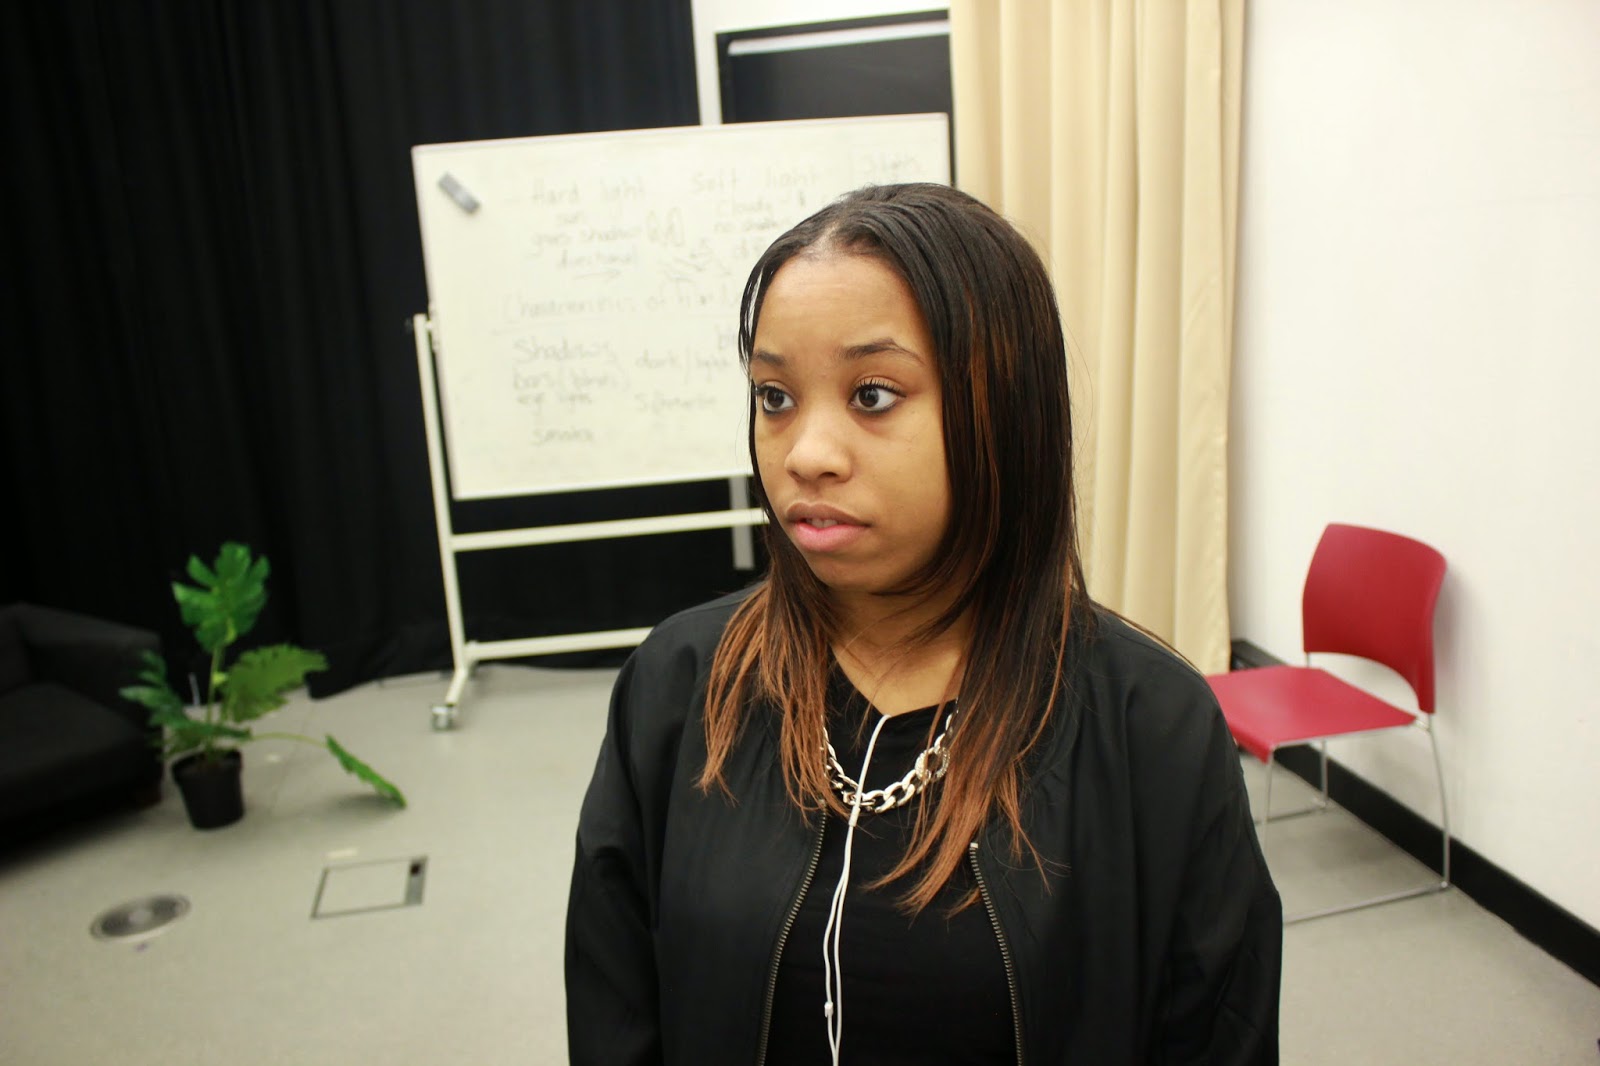
using shadows creatively

In this series of images  shadows were used creatively by using a sheets of black (light blockers) and reflectors to enhance the masculine features of the subject. More subtle shadows were used on the female subject to soften her appearance and enhance the feminine aspects to the photo


Shutter zoom

Shutter zooms are done by zooming simultaneously to taking the photo


Portraits using different lighting techniques

In this series of photos I've used tungsten lighting and gel lighting. These both have different affects on the images and both give a nice ambient (the well lit room) and very dynamic and futuristic (gel lit photos) vibes.